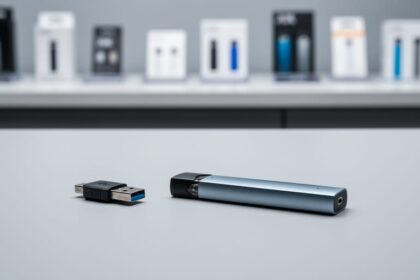
In recent years, the popularity of vaping has significantly grown. One of the main reasons behind this is that there are plenty of vape juice flavors to choose from. However, these juices can be quite expensive, and in some cases, you don’t really know what’s in them. This is why it’s understandable if you are thinking of making your own vape juice.
However, is it possible for you to do this, and if yes, how? The answer to this question is yes; you can definitely make your own vape juice. If you are interested in knowing how you have come to the right page. Here, you will learn more about the steps involved in making DIY vape juice as a beginner.
What You Will Need
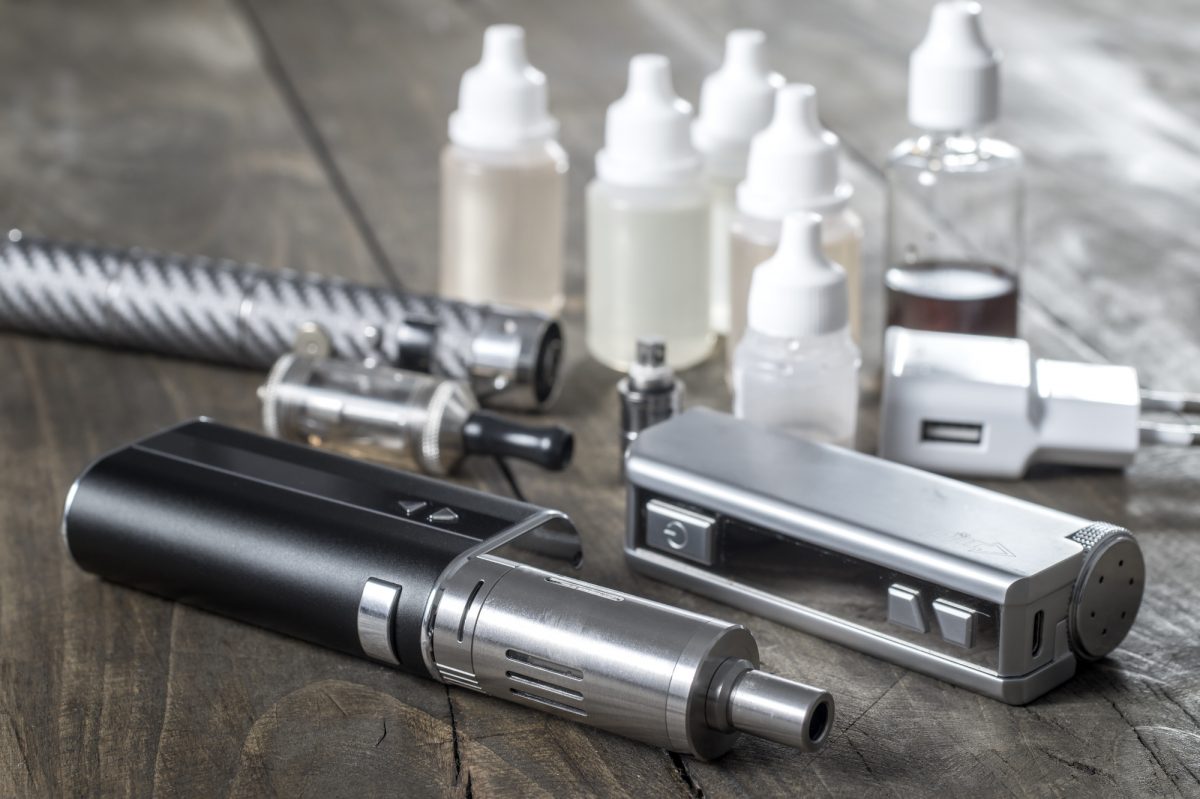
Before discussing the steps on how to make vape juice, you first need to gather the materials and ingredients you’ll need for the process. These are what you should prepare:
- Base liquid
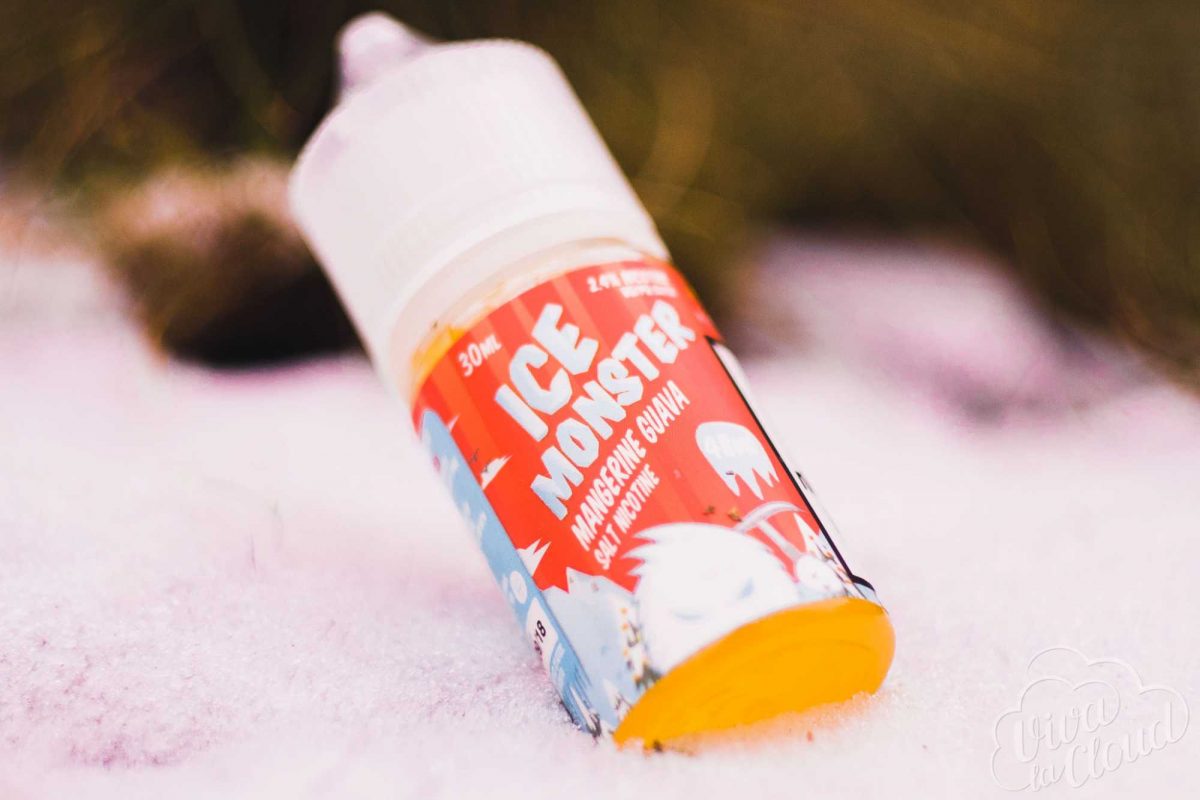
- Vape juice flavor concentrate
- Storage bottles
- Gloves
- Labels
- Scales
- syringes
Steps in Making DIY Vape Juice
Once you have the necessary materials and ingredients, you can start making your own vape juice. After that, follow these steps:
Step #1: Pick a Recipe
The first thing you have to do is pick a recipe you want. There are many available recipes online. The nice thing about this is that you can customize it according to your preference.
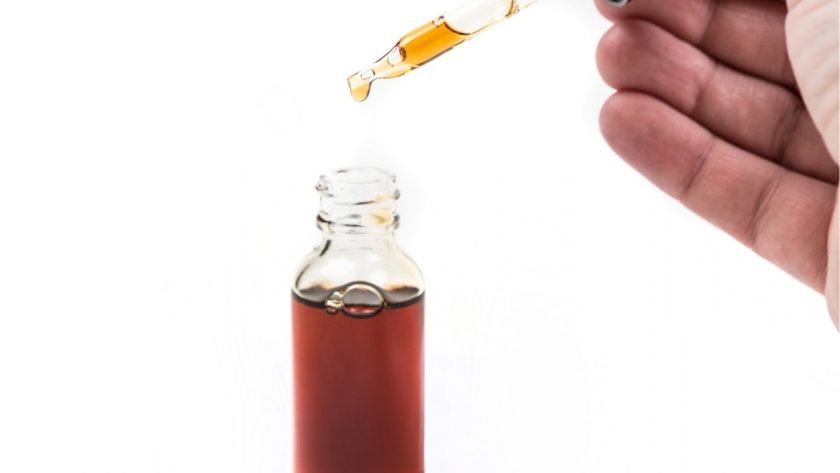
Step #2: Combine the Ingredients
Next, you have to combine the ingredients according to your chosen recipe. In this step, it is highly suggested that you use a weighing scale to get the right proportions.
Step #3: Label the Vape Juice
This is the midway step; you have to put a label on your vape juice. As much as possible, indicate the following details:
- Nicotine level
- VG/PG ratio
- Date created
- Flavor percentage
Many beginners tend to skip this step, so they do not know how to recreate the flavors later on. When labeling, you can use sticker paper and cut them according to the size of the bottle you are using.
Step #4: Steep
DIY vape juice has more than just one concentrate, which needs a specific amount of time before it settles and blends with our flavor. The steeping time is usually indicated in the recipe so just follow that.
Step #5: Test
After steeping the vape recipe according to the indicated time, the next step is for you to test it. In this step, it’s highly suggested to use a rebuildable atomizer or good-quality dripper instead of a tank. This will let you know better about the taste of the juice without needing to waste coils because of failed experiments
Step #6: Store
The last step in this process is storage. Don’t put it somewhere with direct sunlight, so place it in a cool, dark place away from children or pets’ reach.
Final Words
If you can not get your e-juice online, making DIY Vape juice is easier than you think. As long as you have the right ingredients and patience, then you can achieve a fabulous result.