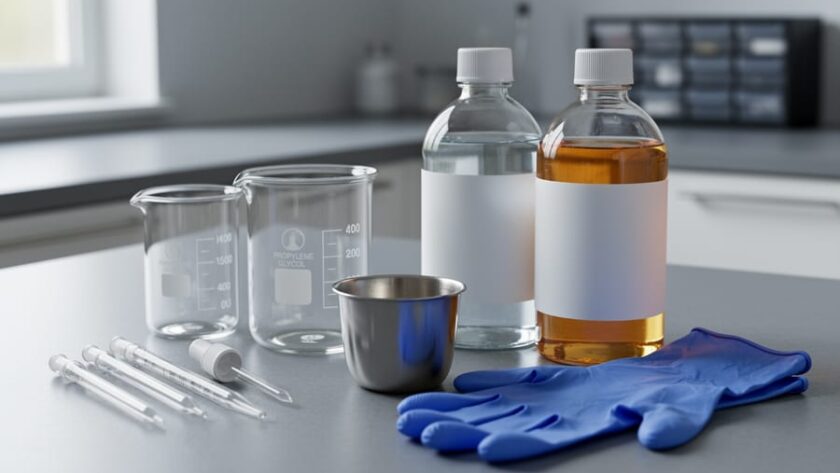
Creating your own vape juice is a straightforward process that requires four essential ingredients (propylene glycol, vegetable glycerin, nicotine base, and flavor concentrates), basic mixing equipment, and careful attention to safety procedures. Most beginners can mix their first batch in under 30 minutes once materials are assembled, though the learning curve for crafting truly satisfying flavors takes experimentation.
The appeal is clear: complete control over every ingredient that goes into your e-liquid, from nicotine strength to flavor profiles that simply don’t exist in retail bottles. DIY mixing lets you customize throat hit, vapor production, and taste intensity to match your exact preferences. While the upfront investment in supplies exists, regular DIY mixers typically see meaningful savings compared to consistently purchasing commercial liquids, though exact figures vary widely based on quality of ingredients chosen and how much you vape.
Safety comes first in any DIY vaping discussion. You’ll be handling concentrated nicotine, which requires gloves, eye protection, and strict protocols to prevent skin contact. Nicotine base at high concentrations (typically 100mg/mL) is toxic if mishandled. Clean workspace practices, accurate measuring tools, and proper storage away from children and pets aren’t optional considerations, they’re fundamental requirements before you mix your first drop.
This guide walks through the complete process: what equipment and ingredients you actually need, essential safety measures before you start mixing, the step-by-step procedure for creating balanced e-liquid, and how to evaluate whether your finished product is safe and enjoyable to vape. We’ll set realistic expectations about what DIY can and cannot deliver, helping you decide if making your own juice fits your vaping lifestyle.
What You’ll Need to Get Started
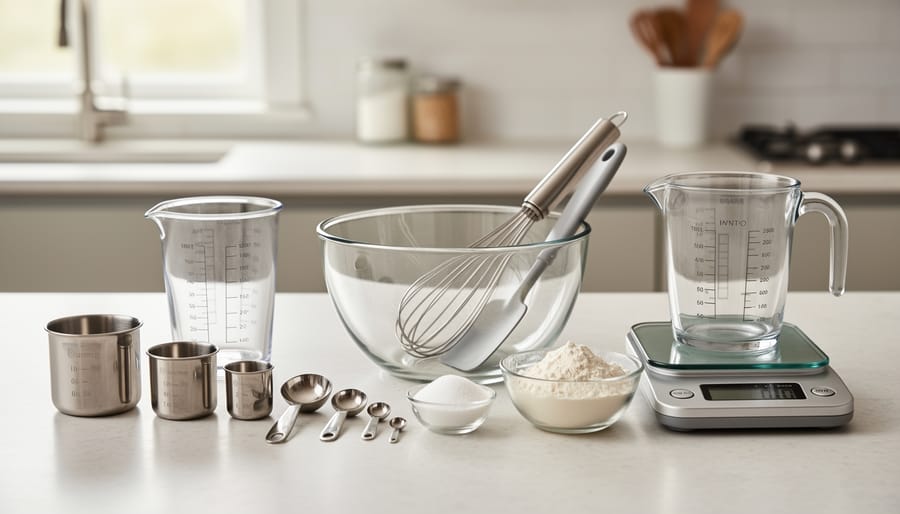
Creating your own vape juice requires upfront investment in specific materials and tools, though the barrier to entry is lower than many beginners expect. Understanding what each component does helps you make informed purchasing decisions and avoid wasting money on unnecessary items.
Base Ingredients
Your foundation consists of three essential liquids. Propylene glycol (PG) and vegetable glycerin (VG) form the bulk of every recipe, these are the carrier liquids that deliver nicotine and flavor while producing vapor. You’ll need both in USP (United States Pharmacopeia) grade, which ensures purity suitable for inhalation. Nicotine base comes in two main forms: freebase nicotine, which provides a stronger throat hit and works well in lower-power devices, and nicotine salt, which delivers smoother inhalation at higher concentrations. Beginners typically start with nicotine base concentrations between 48mg/ml and 100mg/ml, which you’ll dilute to your target strength.
Flavor concentrates specifically formulated for vaping complete your ingredient list. These differ significantly from food flavorings, never use extracts containing oils or lipids, which are dangerous to inhale. Reputable vaping flavor manufacturers produce concentrates designed for this application.
Essential Tools and Equipment
Precision matters when working with concentrated nicotine, making accurate measuring tools non-negotiable:
- Graduated syringes or pipettes (1ml, 5ml, and 10ml sizes cover most measuring needs)
- Digital scale accurate to 0.01g if you prefer mixing by weight
- Glass beakers or polypropylene mixing containers (30ml to 100ml capacity)
- Nitrile gloves for skin protection during handling
- Safety glasses or goggles for eye protection
- LDPE or PET plastic bottles with childproof caps for storage (15ml, 30ml, and 60ml sizes)
- Labels for proper identification and dating
- Paper towels and cleaning supplies for spill management
While specialized mixing calculators exist online, a basic calculator and notepad for recording recipes prove invaluable as you develop your formulations.
Sourcing Quality Supplies
Most DIY mixers purchase supplies from dedicated online retailers specializing in vaping components. These vendors typically offer base liquids in various sizes, nicotine in multiple concentrations and types, and extensive flavor concentrate selections. Quality matters more than price, pharmaceutical-grade bases and reputable flavor brands reduce the risk of contamination or unexpected reactions.
The initial setup investment feels substantial compared to simply purchasing a JUUL starter kit cost or buying retail bottles, but these materials produce many batches. Buying appropriate equipment from the start prevents costly mistakes and ensures safer mixing practices.
Critical Safety Warnings Before You Begin
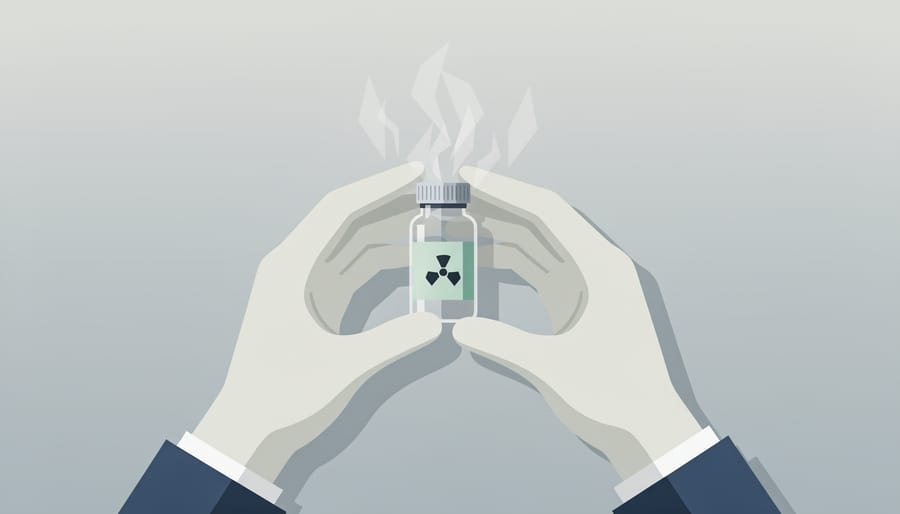
Before you measure a single drop, understand that DIY vape juice mixing involves handling concentrated nicotine, a toxic substance that demands the same respect you’d give any household poison. Nicotine in high concentrations can absorb rapidly through skin, causing nausea, dizziness, vomiting, and in severe cases, seizures or cardiac arrest. This isn’t fearmongering; it’s chemistry. A spilled bottle of 100mg/ml nicotine base on bare skin can deliver a dangerous dose in minutes.
Your workspace must include non-negotiable protective equipment: nitrile gloves (not latex, which nicotine can penetrate), safety glasses to protect against splashes, and a well-ventilated area, ideally with an open window or fan. Work on a wipeable surface, keep paper towels and cleaning solution within arm’s reach, and never eat, drink, or touch your face while mixing. Store all nicotine bases in child-resistant containers, locked away from children and pets, in a cool, dark location. Label every bottle you create with the nicotine strength, date mixed, and a clear “POISON” warning; unlabeled bottles have led to accidental ingestions.
DIY mixing is not appropriate if you cannot measure ingredients to 0.1ml accuracy, lack a dedicated workspace away from food preparation areas, or have young children who could access your materials. If you cannot commit to meticulous measurement and documentation, pre-made e-liquids are the safer choice.
Regarding regulations, as of 2026, the FDA vaping crackdown continues to focus enforcement on commercial manufacturers rather than individual home mixers, but purchasing nicotine base for personal use exists in a regulatory gray area. Some states have enacted additional restrictions on nicotine base sales. The FDA’s deeming regulations primarily target products entering interstate commerce, not individual mixing for personal consumption, but staying informed about your state’s specific laws is your responsibility.
Treat every mixing session as a chemistry experiment requiring your full attention. Distractions, shortcuts, or casual handling can turn a rewarding hobby into a medical emergency.
Understanding Vape Juice Components and Ratios
Every vape juice consists of four essential components, and the proportion of each directly determines how your final product performs in your device.
Propylene Glycol (PG) is a thin, odorless liquid that carries flavor effectively and produces the throat hit you feel when inhaling. Higher PG ratios deliver stronger flavor clarity and a more pronounced throat sensation similar to traditional cigarettes, making them popular for mouth-to-lung vaping. PG is also less viscous, which means it wicks faster in smaller coil systems and works well in basic pod devices.
Vegetable Glycerin (VG) is thicker and slightly sweet, responsible for the dense vapor clouds many vapers enjoy. VG produces smoother inhales with less throat hit, which some prefer for direct-lung vaping. The thickness matters because high-VG juice can struggle to saturate certain coil types quickly enough, potentially causing dry hits in devices not designed for it.
Nicotine provides the satisfaction many former smokers seek, available in freebase or salt forms. Freebase nicotine delivers a stronger throat hit and works well at lower concentrations, while nicotine salts allow higher strengths with smoother delivery. Your nicotine level affects throat sensation independently of PG/VG ratio.
Flavoring concentrates make up the smallest percentage but define your vape’s taste. Most recipes use between 5% and 20% total flavoring, though exact amounts vary by concentrate strength and complexity. Too much flavoring creates harsh, chemical-tasting juice rather than stronger flavor.
When you see ratios like 70/30 or 50/50, the first number always represents VG, the second PG. A 70/30 VG/PG blend produces substantial vapor with moderate throat hit and works best in sub-ohm tanks with larger coil openings. A 50/50 ratio balances flavor, throat hit, and vapor production for standard pod systems and mouth-to-lung tanks.
Device compatibility isn’t just preference. Sub-ohm devices running below 1.0 ohm resistance need high-VG juice because they generate enough heat to vaporize thicker liquid and benefit from VG’s smooth delivery at high power. Mouth-to-lung devices with higher resistance coils perform better with balanced or high-PG ratios because their smaller wicking ports can’t handle thick VG efficiently, and the stronger throat hit suits the tighter draw.
Match your ratio to your device first, then adjust within that range for personal preference.
Step-by-Step Mixing Process
Setting Up Your Workspace
Choose a clean, flat surface in a well-ventilated area away from food preparation zones. A kitchen counter works well, but ensure it’s thoroughly cleaned with a mild disinfectant and dried completely before you begin, any residue can contaminate your mixture. Open windows or turn on exhaust fans to maintain airflow; concentrated nicotine requires proper ventilation even when you’re working carefully.
Lay out all your materials within easy reach: nicotine base, PG, VG, flavor concentrates, empty bottles, syringes or pipettes, gloves, and your written recipe. Good lighting matters more than you might expect, you need to see measurement markings clearly and spot any drips or spills immediately. A desk lamp positioned to eliminate shadows helps tremendously.
Set up a designated “clean zone” where only bottles with measured ingredients go, separate from your supply containers. This reduces cross-contamination risk and helps you track what you’ve already added. Keep paper towels nearby for immediate cleanup, and have a small bowl or container ready for used syringes and pipettes. If you’re working with nicotine concentrations above 6mg, double-check that children and pets cannot access your workspace.
Before touching any nicotine-containing materials, put on nitrile gloves. Latex works but nitrile offers better chemical resistance and fewer allergy concerns.
Measuring and Combining Ingredients
Start with your PG base, it’s the thinnest liquid, so measure it first. If using a scale, place your mixing bottle on it and tare to zero. Add PG slowly until you hit the target weight in grams. For volume measurement with syringes, draw the PG to the exact mark and dispense into your bottle. Always measure at eye level to avoid parallax errors.
Add VG next. Because it’s thick and viscous, work slowly, VG clings to syringe walls and flows sluggishly. Let gravity do the work rather than forcing it out. If using a scale, this is easier: just add VG until your total weight matches PG plus VG combined. Wipe any drips from bottle edges before proceeding.
Nicotine comes third, and this is where precision matters most. Double-check your calculation before you start. Measure the exact amount, never eyeball nicotine. Use a dedicated syringe or pipette that you won’t cross-contaminate with flavoring. Add it slowly and recap your nicotine bottle immediately.
Flavoring goes in last. Most beginner recipes use 5-15% total flavoring, but this varies wildly by concentrate brand and type. Start conservative, you can always add more, but you can’t remove excess. Measure each flavor separately if using multiple concentrates.
After all ingredients are in, cap your bottle tightly and check there are no leaks. Shake vigorously for at least two minutes, a proper mix requires more effort than you’d think. VG needs force to fully incorporate. The liquid should look uniform with no separation or layering visible when you hold it to light.
Mixing and Initial Preparation
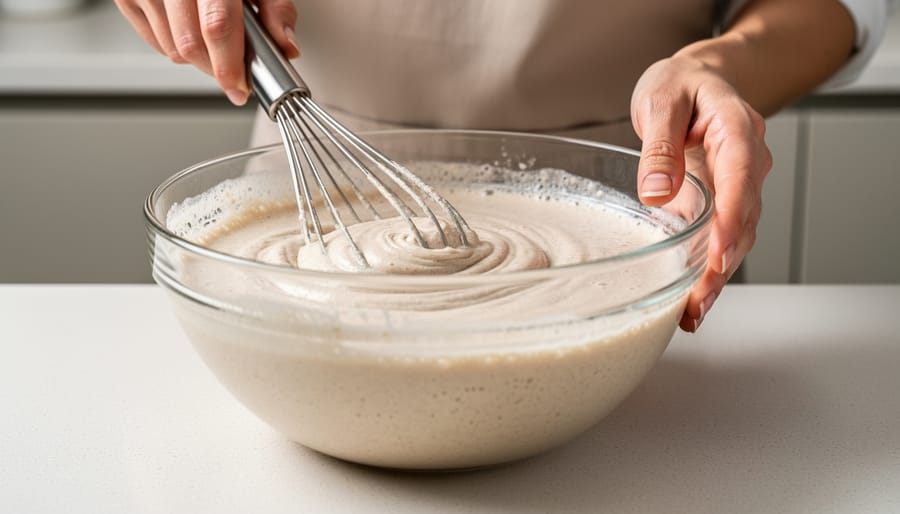
Once you’ve added your flavoring, the final ingredient, seal your bottle and begin the mixing process. The simplest and most effective method for beginners is vigorous shaking. Grip the bottle firmly and shake it hard for at least two to three minutes. You’re looking for complete integration: no visible separation between the lighter VG and thinner PG layers, no flavor concentrate floating on top, and a uniform appearance throughout.
Hold the bottle up to a light source and check for streaks, cloudiness, or layered sections, these indicate incomplete mixing. If you spot any, keep shaking. A well-mixed batch should look consistent from top to bottom with no visible stratification. The liquid should move smoothly when you tilt the bottle rather than separating into distinct layers.
After you’re satisfied with the mix, let the bottle sit for five to ten minutes. This allows any trapped air bubbles from shaking to rise and dissipate. Check one more time for separation, if the ingredients have started to layer again, your VG ratio might be too high for shake-mixing alone, or you didn’t shake long enough.
Label your bottle immediately with the date, nicotine strength, PG/VG ratio, and flavor profile. This isn’t optional, unlabeled bottles create serious safety risks and make it impossible to replicate successful recipes. Store your fresh batch in a cool, dark place away from children and pets while you decide whether it needs steeping or if it’s ready to test.
Steeping and When Your Juice is Ready
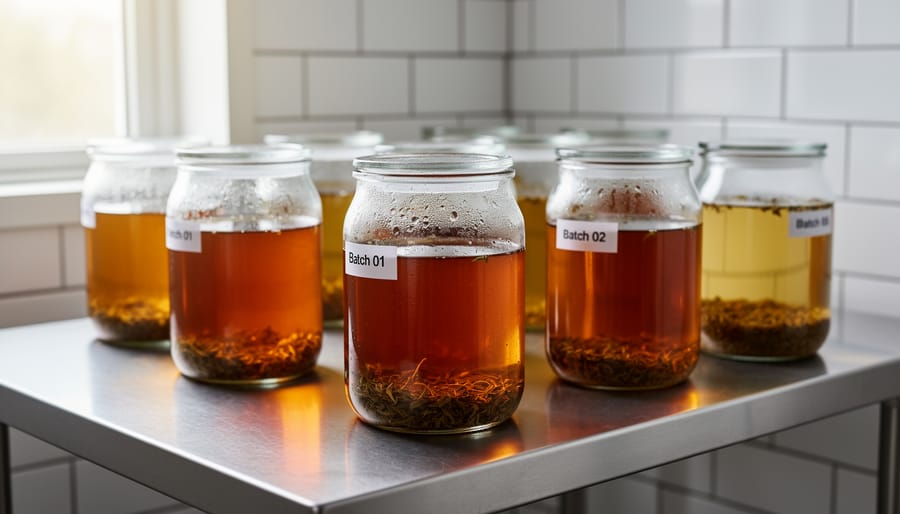
After mixing your DIY vape juice, patience becomes your most valuable ingredient. Steeping is the process of letting your e-liquid age so the flavor molecules can fully integrate with the base liquids, creating a smoother, more balanced vape. Think of it like letting a good stew simmer, the flavors need time to marry together.
Not all recipes demand steeping. Simple fruit flavors and menthol blends are typically “shake-and-vape,” meaning they’re ready immediately after thorough mixing. Custards, creams, tobaccos, and complex dessert profiles benefit significantly from steeping, usually requiring one to three weeks for optimal flavor development. Bakery flavors with multiple layers might need even longer.
Store your steeping bottles in a cool, dark place away from direct sunlight. Heat and UV exposure degrade nicotine and can alter flavors unpredictably. Shake the bottles every few days to encourage molecular integration. Some vapers use warm water baths to speed steeping, but this risks uneven results.
Testing readiness involves multiple checkpoints. Visually inspect for consistent color with no separation or floating particles. Smell the juice, it should present clean, recognizable flavor notes without sharp chemical overtones. Conduct a small-volume device test, starting with just a few drops in your tank. The flavor should taste balanced and smooth.
If something’s gone wrong, you’ll know quickly. Persistent layer separation suggests inadequate mixing or incompatible ingredients. Off-putting chemical smells that don’t fade indicate flavor concentrate issues or contamination. Excessive throat hit beyond what your nicotine level should produce points to improper PG/VG ratios or oxidized nicotine.
When flavors seem muted, give it more time. When they’re too intense or one-dimensional, you’re likely ready but may need recipe tweaking for next batch. Document your steeping times and tasting notes, this builds your personal recipe database for future mixing success.
Common Beginner Mistakes and How to Avoid Them
New DIY mixers frequently add too much flavoring, expecting stronger equals better. Most recipes work best at 5-15% total flavoring concentration, going beyond 20% typically creates a muted, chemical taste rather than intensifying the profile. Start at the lower end of recommended percentages and increase gradually in 1-2% increments if needed.
Nicotine calculation errors pose real safety risks. Double-check your math before adding nicotine base, and always measure by weight rather than volume when possible for accuracy. If your mix feels harsh or produces unpleasant throat hit, you’ve likely added too much nicotine. There’s no fixing an over-nicotine batch, discard it safely and start fresh.
Poor measurement precision undermines everything. Kitchen measuring spoons and eyeballing quantities don’t work for DIY mixing. Invest in a scale accurate to 0.01g or use precision syringes marked in milliliters. Each ingredient requires its own clean syringe to prevent cross-contamination.
Inadequate mixing leaves ingredients separated, creating uneven nicotine distribution and inconsistent flavor. Shake bottles vigorously for at least two minutes, not just a quick flip. For VG-heavy recipes, consider letting the bottle sit in warm water first to reduce viscosity.
Contaminated equipment introduces off-flavors and degrades your juice. Clean all tools, bottles, and work surfaces between batches. Residue from previous mixes affects new recipes more than you’d expect.
Improper storage kills flavor development. Keep mixed juice in cool, dark places, not windowsills or hot cars. Label everything with creation date and nicotine strength.
Recipe adjustment is normal. Your first attempts won’t be perfect, and that’s expected. Keep notes on what you changed and why. The learning curve exists for everyone, so don’t get discouraged if your initial batches need tweaking. Understanding 2026 vaping ban updates helps you stay compliant while experimenting, and if you’re interested in expanding beyond traditional nicotine, exploring CBD vaping basics might open new mixing possibilities.
Frequently Asked Questions
How long does homemade vape juice last?
Properly stored DIY e-liquid typically maintains quality for 1-2 years when kept in a cool, dark place in tightly sealed bottles. Nicotine oxidation is your main concern, it degrades faster when exposed to light, heat, or air, gradually turning the liquid darker and creating a peppery taste. Store your bottles away from direct sunlight, preferably in amber or opaque containers, and keep nicotine base refrigerated if you won’t use it within a few months. Label everything with creation dates so you can track freshness.
Is DIY mixing actually worth it for small batches?
For someone making just one or two bottles occasionally, the upfront investment in supplies and learning curve often outweighs the benefits. You’ll need to purchase base liquids, nicotine, multiple flavor concentrates, and equipment before you mix your first bottle, and many ingredients come in quantities far exceeding what a small-batch mixer will use before they degrade. DIY shines for regular vapers who go through significant volumes or want precise control over flavor profiles and nicotine levels. If you vape infrequently or prefer the convenience of ready-made juice, stick with quality commercial options.
How do I clean my mixing equipment?
Wash bottles, syringes, and mixing containers with warm soapy water after each use, rinse thoroughly, and let air dry completely. Residual flavors will contaminate your next batch if you don’t clean properly. For stubborn flavor residue, a quick soak in isopropyl alcohol followed by a water rinse works well. Replace disposable pipettes and syringes regularly rather than reusing them across many batches.
Is DIY vape juice mixing legal where I live?
Regulations vary significantly by location and continue evolving, what’s permitted in 2026 depends on your state or country’s current nicotine product laws. Some jurisdictions restrict nicotine base sales to licensed retailers, limit concentrations, or require specific labeling. Check your local regulations before ordering supplies, and understand how regulations affect product availability in your area. When in doubt, consult your state’s tobacco or health department for current guidance.
Can I recreate my favorite commercial e-liquid flavor?
Reverse-engineering commercial flavors is challenging because manufacturers use proprietary blends and don’t publish recipes. You can find community-created clone recipes online that approximate popular flavors, but expect a learning curve and accept that your version will likely differ from the original.
When should I just buy pre-made juice instead?
Choose commercial e-liquid if you lack a safe mixing space, can’t commit to learning proper technique, vape infrequently enough that ingredient degradation becomes an issue, or simply value convenience over customization. There’s no shame in buying quality pre-made juice, it’s often the smarter choice for casual vapers.
What if my homemade juice tastes harsh or chemical?
Harshness usually means too much nicotine, over-flavoring, or insufficient steeping time for complex recipes. Start by cutting your nicotine level or flavor percentage in half for your next batch, and give fruit or dessert flavors at least a week to steep before judging them.
Remember that DIY mixing isn’t a requirement for enjoying vaping. Many experienced vapers use both homemade and commercial juices depending on their needs, and that hybrid approach often makes the most sense for beginners still developing their palate and mixing skills.
Making your own vape juice is a rewarding skill that offers genuine customization and the satisfaction of creating something tailored to your preferences. But it’s not a casual hobby. This process demands precision, patience, and an unwavering commitment to safety, especially when handling concentrated nicotine. The initial learning curve is real, and you’ll need to invest time understanding ratios, flavor profiles, and proper technique before you see consistent results.
Start simple. Use basic recipes, measure carefully, and keep detailed notes about what works and what doesn’t. Document your ratios, steeping times, and flavor outcomes. This record-keeping turns mistakes into learning opportunities and helps you refine your approach.
That said, DIY mixing isn’t for everyone. If you lack a safe workspace, can’t commit to precise measurements, or simply prefer the convenience and consistency of commercial products, there’s absolutely nothing wrong with sticking to quality pre-made e-liquids. Both paths are valid.
Whether you choose to mix your own or explore commercially available options, American E-Liquid Reviews provides independent product evaluations and industry insights to help you make informed decisions about your vaping experience.