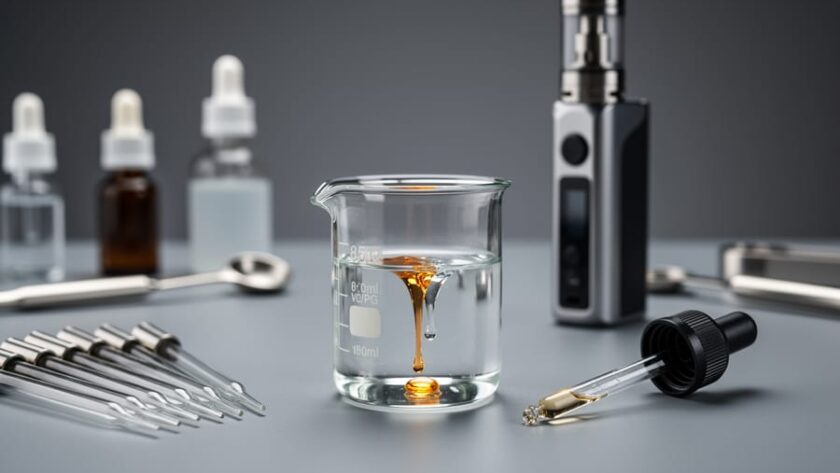
Making your own vape liquid is a straightforward process that requires just four core ingredients: vegetable glycerin (VG), propylene glycol (PG), nicotine base, and flavor concentrates. With basic safety equipment and attention to detail, you can mix custom e-liquids at home that match your exact preferences for flavor strength, nicotine level, and cloud production.
The regulatory landscape has made DIY mixing increasingly attractive. Following the FDA vaping crackdown and the ongoing 2026 vaping ban update many vapers have turned to DIY as a way to maintain access to their preferred liquids while controlling costs. Commercial bottles can add up quickly, especially if you vape regularly or prefer premium blends.
Before you start, understand that this isn’t just mixing random ingredients together. E-liquid mixing demands precision. You’ll measure ingredients by weight, calculate ratios correctly, and handle nicotine with respect. Most beginners achieve consistent results within their first few batches once they grasp the fundamentals.
The learning curve is gentle. Simple single-flavor recipes work perfectly while you build confidence. As your skills develop, you can experiment with complex flavor profiles, adjust VG/PG ratios for different devices, and fine-tune nicotine strength to match your needs.
This guide walks you through everything: the exact tools you need, critical safety protocols, step-by-step mixing procedures, and how to verify your results. Whether you’re tired of limited commercial options or simply want complete control over what you vape, home mixing offers independence that pre-made liquids can’t match.
Understanding E-Liquid Components
E-liquid consists of four fundamental components, each serving a specific purpose in your final vape juice. Understanding these ingredients and their interactions is essential before you start mixing your own blends.
Vegetable Glycerin (VG) forms the thick, viscous base of your e-liquid. This natural substance produces the visible vapor clouds when you vape. VG delivers a smooth, slightly sweet taste and creates denser clouds, which is why cloud chasers prefer high-VG liquids. The thicker consistency works best in sub-ohm devices with larger wicking ports.
Propylene Glycol (PG) is the thinner liquid base that carries flavor more effectively than VG. PG produces a stronger throat hit, that satisfying sensation in your throat similar to smoking, and it’s less viscous, making it suitable for smaller coil devices like pod systems. While PG doesn’t create massive clouds, it delivers sharper, more pronounced flavors.
Nicotine is the optional additive that provides the satisfying effect many vapers seek, particularly those transitioning from cigarettes. You’ll typically purchase nicotine as a base solution already diluted in VG or PG. The strength you choose determines how much you add to your recipe.
Flavor concentrates transform your base liquids into enjoyable vape juice. These food-grade concentrates come in countless varieties, from single fruits to complex dessert profiles. Most recipes use multiple flavor concentrates at low percentages to create balanced, layered tastes.
The ratio between VG and PG fundamentally shapes your vaping experience. A 70/30 VG/PG blend suits direct-lung vaping with high vapor production, while 50/50 or higher PG ratios work better for mouth-to-lung devices that prioritize flavor and throat hit. Your device capabilities and personal preferences will guide your ratio choices as you develop recipes.
Essential Tools and Materials for DIY E-Liquid
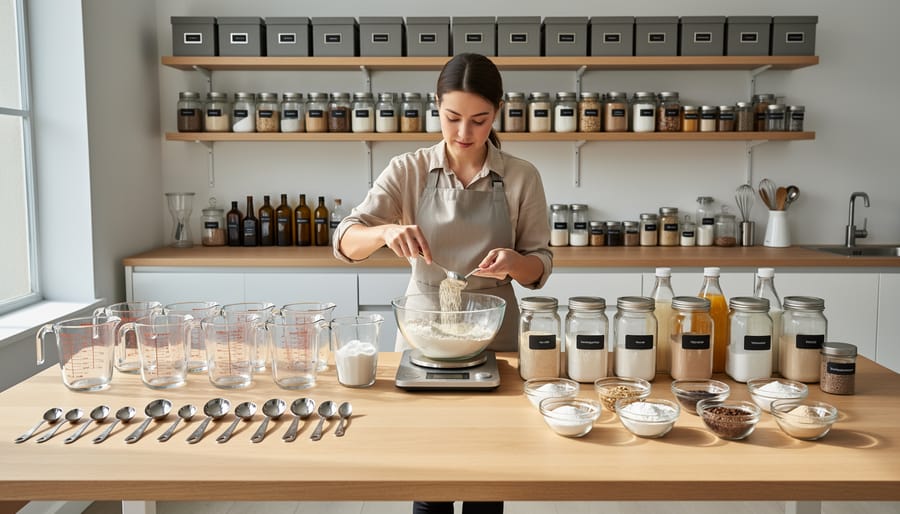
Before you begin mixing, assembling the right tools and materials will make the process safer, more accurate, and more enjoyable. Unlike commercial production, home mixing requires only a modest investment in basic equipment that you’ll use repeatedly across countless batches.
Start with a digital scale accurate to 0.01 grams. Mixing by weight rather than volume eliminates measurement errors and speeds up your workflow significantly. Most vapers find scales designed for jewelry or kitchen use work perfectly, and they typically cost less than commercial e-liquids you’d buy in a single month.
You’ll need these essential items to mix safely and accurately:
- Digital scale accurate to 0.01g for precise ingredient measurements
- Empty bottles with childproof caps in various sizes (10ml, 30ml, 60ml) for storing finished e-liquid
- Disposable nitrile gloves to protect your skin from concentrated nicotine
- Safety glasses or protective eyewear to shield your eyes during mixing
- Blunt-tip syringes or graduated pipettes if you prefer volume-based measuring for flavors
- Paper towels and cleaning supplies for workspace maintenance and spill management
- Labels or masking tape and permanent marker to track recipes and mixing dates
- Small mixing beakers or shot glasses if you want to pre-blend components before bottling
For base ingredients, you’ll need pharmaceutical-grade vegetable glycerin, propylene glycol, and nicotine base solution at your preferred strength (commonly 72mg/ml or 100mg/ml for easier calculations). Buy only from reputable suppliers who provide certificates of analysis confirming purity and nicotine concentration. Many established DIY vendors ship throughout most jurisdictions and maintain quality standards specific to vaping applications.
Flavor concentrates designed specifically for vaping come from specialized manufacturers. Avoid food flavorings from grocery stores, as many contain oils or additives unsuitable for inhalation. Start with single-flavor concentrates from recognized brands before experimenting with complex recipes. Most DIY vendors sell small sample sizes, letting you build your flavor library gradually without committing to large bottles.
Store all ingredients in a cool, dark location away from children and pets. Amber or opaque bottles protect nicotine from light degradation, and childproof caps are non-negotiable for any container holding nicotine. Set up your mixing area on a clean, stable surface with good lighting and adequate ventilation before you begin.
Critical Safety Precautions
Nicotine Handling Safety
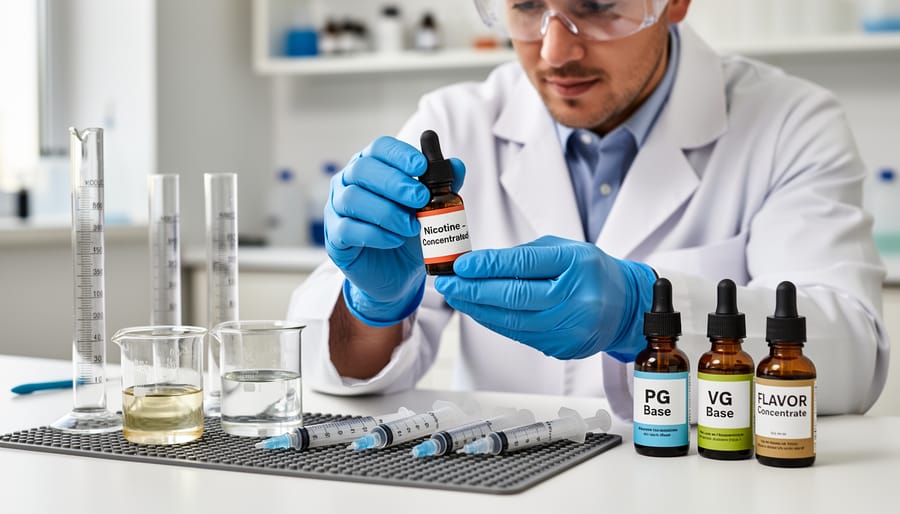
Concentrated nicotine is a hazardous substance that demands respect and careful handling. Most DIY mixers work with nicotine bases at 100 mg/ml or lower concentrations, but even these strengths can cause serious harm through skin absorption or ingestion. Pure nicotine is a poison, ingesting or absorbing enough through your skin can be fatal, which is why proper protective measures are non-negotiable.
Always wear nitrile gloves when handling nicotine base solutions. Latex gloves can degrade when exposed to nicotine, allowing it to pass through to your skin. Work in a well-ventilated area, and keep your nicotine bottles tightly sealed when not actively measuring. If nicotine base contacts your skin, wash the affected area immediately with soap and cool water, hot water increases absorption. Remove contaminated clothing and rinse the skin thoroughly.
Store nicotine in the refrigerator or freezer in amber or opaque bottles to prevent degradation from light and heat. Use childproof caps and keep nicotine bases in a locked cabinet or container where children and pets cannot reach them. Label all nicotine containers clearly with concentration and hazard warnings.
Never eat, drink, or touch your face while working with nicotine base. Keep paper towels, soap, and water within reach, and mix over a surface that’s easy to clean. These precautions may seem excessive when you’re working with a few milliliters, but they’re what stand between safe mixing and a dangerous accident.
Workspace and Storage Safety
Set up your mixing area in a well-ventilated room with a stable work surface at a comfortable height. Choose a dedicated space away from food preparation areas, and ensure adequate lighting so you can see measurements clearly. Keep paper towels within reach for immediate cleanup of any spills.
Store all e-liquid ingredients in their original containers with clearly marked labels. Base liquids and nicotine solutions should sit in a cool, dark cupboard, heat and light degrade nicotine over time. Never transfer nicotine to unmarked bottles that could be mistaken for something else.
Childproofing matters enormously. Lock ingredients in a cabinet or storage box that children and pets cannot access. Even finished e-liquids in low concentrations require childproof bottle caps and secure storage, as nicotine is dangerous if ingested by young children.
Maintain workspace cleanliness by wiping down surfaces before and after each mixing session. This prevents cross-contamination between different flavor concentrates and removes any nicotine residue. Dedicate specific syringes or pipettes to nicotine use only, and label them clearly to avoid confusion.
Keep mixing sessions organized: clean tools immediately after use, dispose of used paper towels properly, and never leave bottles open or unattended during the mixing process.
Step-by-Step E-Liquid Mixing Process
Calculating Your Recipe
Your recipe starts with three fundamental decisions that directly affect your vaping experience. First, choose your VG/PG ratio based on your device and what you want from each puff. High-wattage sub-ohm devices handle 70/30 or 80/20 VG/PG blends well, producing thick clouds and smooth throat hit. Mouth-to-lung devices like pod systems and older-style tanks work better with 50/50 or 60/40 ratios, thinner liquid wicks faster in smaller coils. If you’re switching from a JUUL starter kit to DIY mixing, start with a balanced 50/50 ratio similar to commercial pod liquids.
For nicotine strength, match it to your device type and current habits. Sub-ohm vapers typically use 3-6 mg/ml because they inhale more vapor per puff. Pod and MTL users often choose 12-18 mg/ml for satisfying throat hit with less vapor. Calculate the amount of nicotine base you’ll need based on your target strength and batch size.
Flavor percentages usually range from 5-20% of your total recipe, depending on concentrate strength. Start conservative at 10-15% total flavoring for your first batch. Online e-liquid calculators simplify these calculations, input your desired batch size, target nicotine level, VG/PG ratio, and flavor percentages, and they’ll tell you exactly how many grams or milliliters of each ingredient to use.
Measuring and Combining Ingredients
Accurate measurement separates successful e-liquid mixing from inconsistent, potentially unsafe results. Precision matters because even small variations affect nicotine strength, flavor intensity, and throat hit.
Wear nitrile gloves before handling any ingredients. Place your empty bottle on a digital scale and zero it out. The recommended mixing order minimizes contamination risk and ensures proper blending.
Add your base liquids first, vegetable glycerin and propylene glycol according to your calculated recipe. These form the bulk of your mixture and create the foundation. Zero the scale again after each addition if you prefer, or track the cumulative weight as you build the recipe.
Next, add nicotine base carefully. Pour slowly near the bottle opening to avoid splashing, and never rush this step. Cap your nicotine bottle immediately after measuring to prevent accidental spills.
Finally, add your flavor concentrates. Most recipes use flavoring between 5-20% of the total volume, but follow your specific recipe rather than guessing. Some concentrates are potent at 1-2%, while others need higher percentages for noticeable taste.
Once all ingredients sit in the bottle, cap it tightly and shake vigorously for at least two minutes. The mixture should look uniform without visible separation or floating droplets. Some mixers use magnetic stirrers or milk frothers for more thorough blending, though vigorous hand-shaking works for most recipes. Label your bottle immediately with the recipe details, nicotine strength, and mixing date before moving to the steeping phase.
Mixing and Initial Blending
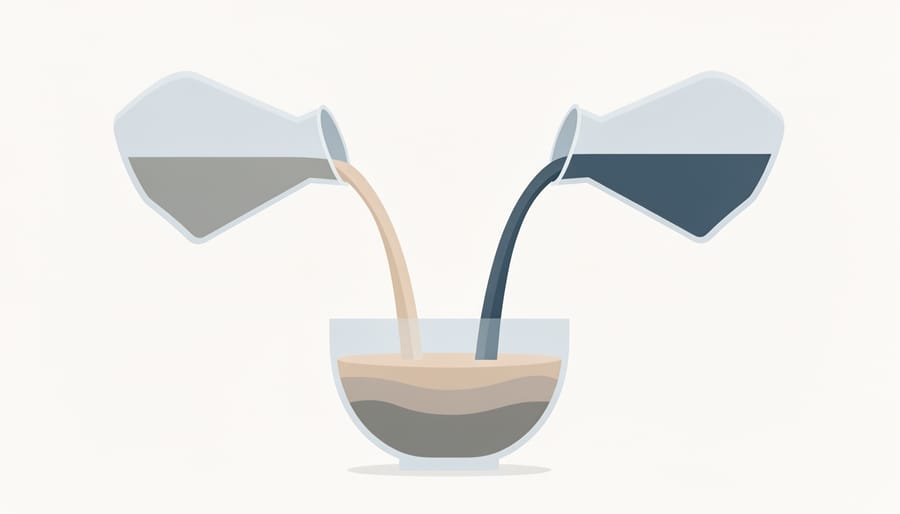
Once all your ingredients are in the bottle, secure the cap tightly and shake vigorously for at least two minutes. This initial shake distributes the nicotine and flavors throughout the base liquids. You’ll know you’ve mixed thoroughly when the liquid appears uniform in color with no visible separation or streaking.
For recipes with multiple flavor concentrates or higher VG ratios, continue shaking in 30-second bursts until the mixture looks completely homogeneous. VG is thicker than PG and needs more agitation to blend smoothly. If you’re working with a particularly stubborn batch, let it sit for a few minutes, then shake again.
A magnetic stirrer offers a hands-free alternative if you’re mixing larger quantities or find shaking difficult. Place your capped bottle on the stirrer plate, set it to medium speed, and let it run for 15-20 minutes. The continuous gentle mixing ensures complete integration without the physical effort.
Steeping and Flavor Development
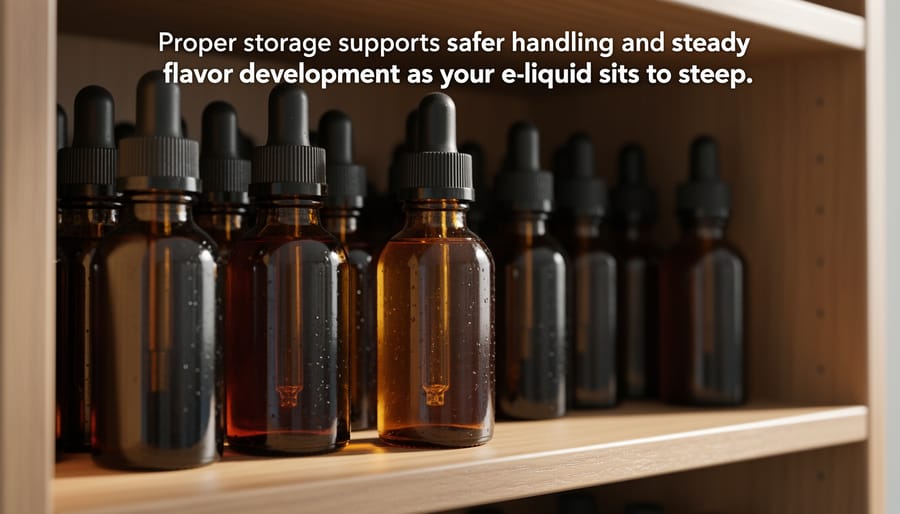
Steeping is the process of letting your freshly mixed e-liquid rest over time, allowing the ingredients to fully integrate and flavors to mature. Think of it like aging wine or letting a soup simmer, the components meld together, harsh notes mellow out, and the intended flavor profile emerges more clearly. Not every recipe needs steeping, but many benefit from it.
Fruit flavors typically require the least steeping time. Most fruit-based e-liquids are ready to vape immediately or improve after just a few days. The bright, volatile compounds in fruit concentrates are already well-developed and don’t need extended aging. You might notice subtle improvements over the first week, but diminishing returns set in quickly.
Cream, custard, and bakery flavors need more patience. These complex profiles often taste muted, overly sweet, or chemically when fresh. Creams and custards usually hit their stride after two to four weeks of steeping, while rich bakery flavors like vanilla, caramel, or pastry notes may need three to six weeks to fully develop their depth and smoothness.
Tobacco flavors fall somewhere in between, generally benefiting from one to three weeks of steeping. The earthy, woody notes in tobacco concentrates need time to settle and balance.
Store your steeping e-liquids in a cool, dark place, heat and light degrade nicotine and flavor compounds. Shake the bottles every few days to encourage mixing. Some vapers speed up steeping by placing bottles in warm water for short periods or using ultrasonic cleaners, though natural aging typically produces the best results.
If you’re impatient, make small test batches and vape them fresh. You’ll quickly learn which recipes need steeping and which don’t.
Testing Your E-Liquid and Troubleshooting
Before you fill your tank, verify your e-liquid meets basic quality standards. Hold the bottle up to light and check for clarity, your liquid should be free from particles, cloudiness, or separation. A good mix appears uniform in color and consistency throughout. Remove the cap and smell the liquid; you should detect your intended flavor profile without harsh chemical odors or an overwhelming scent of pure nicotine.
Start your first test in a device you know well, at lower power settings than you’d normally use. Take a gentle draw and assess three things: does the flavor match your expectations, is the throat hit comfortable rather than scratchy, and does the vapor production seem appropriate for your VG/PG ratio? High-VG mixes produce thicker clouds, while higher-PG liquids offer sharper flavor and more throat hit. If something feels off, don’t vape the entire tank, stop and troubleshoot.
A harsh throat hit usually signals too much nicotine, insufficient VG to smooth the experience, or flavoring that hasn’t mellowed yet. Steeping for a few more days often resolves this. Muted or weak flavor points to under-flavoring (most recipes work between 5% and 15% total flavor concentrate) or inadequate mixing. Shake the bottle vigorously for two minutes, let it rest overnight, then retest. Consistency problems are ratio issues: if your liquid seems too thin and leaks from your tank, increase VG next time; if it’s too thick and causes dry hits, add more PG.
How long should I wait before testing my DIY e-liquid?
You can test immediately after mixing to check for obvious problems, but most recipes benefit from at least 24 hours of rest. Fruit flavors often taste good right away, while cream and custard profiles need several days to a week of steeping.
What if my e-liquid tastes like nothing?
Weak flavor usually means you’ve under-flavored the mix or haven’t shaken it thoroughly. Try shaking vigorously for a few minutes, then let it steep for another day or two. If flavor remains weak after that, increase your flavoring percentage by one or two points in your next batch.
Is it safe to vape e-liquid that separated in the bottle?
Separation occasionally happens with high-VG mixes. Shake the bottle thoroughly until the liquid looks uniform again, then it’s fine to vape. If shaking doesn’t resolve the separation or you see floating particles, discard that batch.
Keep detailed notes on every batch you make: your exact recipe percentages, the date mixed, steeping time, and your assessment of the result. This record helps you reproduce successes and avoid repeating mistakes. When you encounter a problem, resist the urge to dump the entire batch immediately, small adjustments to your next recipe usually fix issues, and understanding what went wrong makes you a better mixer. Always start with 10ml or 30ml test batches rather than mixing large quantities of an untested recipe.
Next Steps and Advancing Your DIY Skills
After mastering your first successful batch, the real journey into DIY e-liquid begins with systematic improvement and gradual expansion of your skills.
Start keeping a detailed mixing log. Record every recipe you make: ingredient brands, exact measurements, mixing date, steeping time, and your impressions after testing. This documentation becomes invaluable when you create something exceptional and want to replicate it, or when troubleshooting what went wrong. A simple notebook works, though many mixers use spreadsheets or dedicated mixing apps to track their formulas and experiments.
Single-flavor testing forms the foundation of recipe development. Rather than diving straight into complex blends, mix individual flavors at different percentages to understand how each concentrate behaves. Test one flavor at multiple strengths to learn its sweet spot and how it changes from weak to overwhelming. This knowledge prevents wasted ingredients when creating multi-flavor recipes later.
The DIY vaping community offers tremendous resources for advancing your skills. Online forums and recipe-sharing platforms provide access to thousands of tested formulas, ingredient reviews, and mixing techniques. Many experienced mixers share their creations freely, complete with recommended steeping times and mixing notes. E-liquid calculators available in 2026 handle the mathematics instantly, letting you adjust batch sizes, nicotine strength, and VG/PG ratios with a few clicks.
Build your flavor inventory gradually rather than buying dozens of concentrates at once. Start with versatile flavors that work in multiple recipes: basic fruits, vanilla, sweetener, and cooling agents. As you identify flavor profiles you enjoy, expand deliberately into those categories. Quality matters more than quantity when selecting concentrates.
Experiment with small batches until you’re confident. Making multiple variations of a recipe costs little but teaches you how slight adjustments affect the final result.
Making your own vape liquid puts complete control in your hands, from flavour intensity to nicotine strength to the VG/PG ratio that matches your device. With the right ingredients, accurate measurements, and a clean workspace, you can create e-liquids tailored exactly to your preferences rather than settling for off-the-shelf options that come close.
Start simple. Your first few batches should use straightforward single-flavour recipes or proven combinations from reputable DIY communities. This approach lets you master the measuring and mixing fundamentals before you tackle complex multi-flavour blends. Keep detailed notes on every batch: record your ratios, brands, steep times, and how the final product vapes. Those logs become your personal recipe book and troubleshooting guide.
Safety isn’t negotiable. Handle nicotine base with gloves and care, store all ingredients securely away from children and pets, and work in a well-ventilated space. If anything contacts your skin, wash immediately with soap and water. Stay current on local regulations around nicotine purchasing and possession limits, rules vary by region and can change.
The customization possibilities grow as you gain experience. You’ll discover flavour pairings that suit your taste, adjust throat hit to your liking, and fine-tune every aspect of your vaping experience. That level of personalization is what makes DIY e-liquid worthwhile for thousands of vapers in 2026.